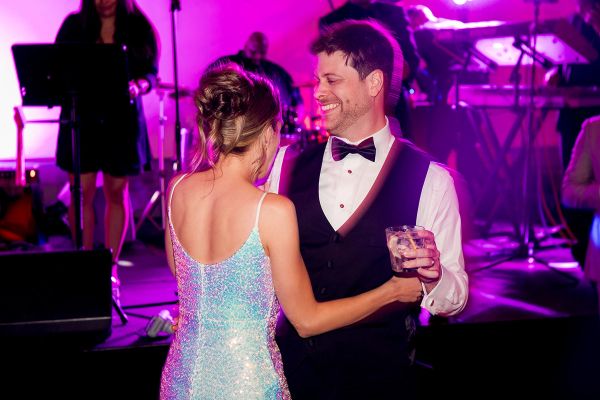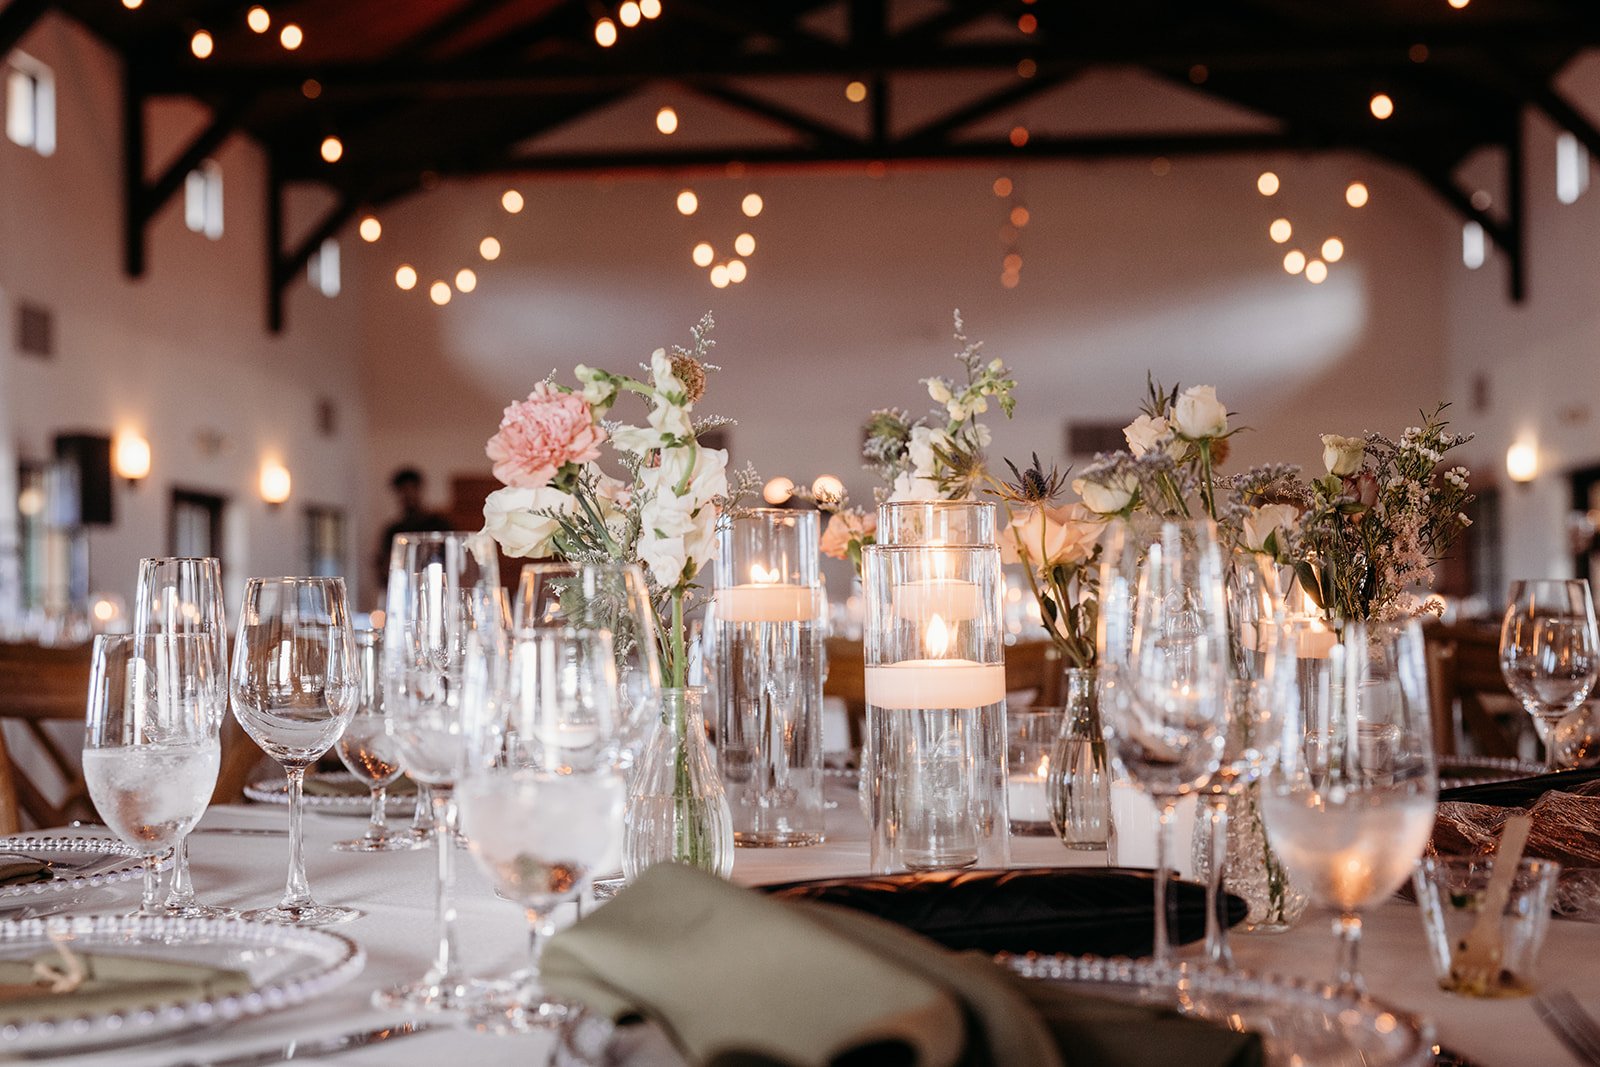
Your grandmother has finished dinner, the band has started its first loud set, and she needs somewhere to sit that is not a banquet chair facing a wall. That is the job of a wedding lounge. Done well, a few sofas, low tables, and soft lighting give guests a place to rest and talk without leaving the party. Done badly, the same pieces block the bar line, crowd the dance floor, and photograph like a furniture showroom.
This playbook walks through the decisions in order, from measuring the room to the final walkthrough, so your rental order matches how guests will actually move through the evening.
Step 1: Decide What the Lounge Is For
Before you open a rental catalog, name the problem the lounge solves. The answer changes what you order and where it goes.
- Rest for older guests and anyone in uncomfortable shoes, which calls for firm seats with arms, placed close to the action.
- Conversation away from the speakers, which calls for a grouping at the quiet edge of the room.
- A cocktail hour gathering point, which calls for a layout that works before dinner and can stay in place afterward.
- A photo backdrop, which calls for a cohesive look and a clean wall or view behind it.
Most weddings need one or two of these, not all four. Picking a primary purpose keeps the order smaller and the room calmer.
Step 2: Measure the Room and Map the Flow
Ask your venue for a floor plan with dimensions, then mark the fixed points: entrances, the bar, the dance floor, the band or DJ, restrooms, and any doors the caterer uses. Guests move between these all night, and those paths need to stay open.
- Draw the main walking routes first, especially between dinner tables, the bar, and the dance floor.
- Mark the spots where people naturally pause, such as the bar line and the dessert table.
- Find the leftover zones that sit off those routes. Those are your candidate lounge areas.
- Check power outlets and lighting near each zone, since a lounge that sits in the dark rarely gets used.
If the venue has a planner or event manager, send them your marked-up plan. They know where previous lounges worked and where they caused bottlenecks.
Step 3: Choose Pieces That Fit the Space
Rental companies often sell lounge furniture in sets, but you can usually mix individual pieces. Start small and add only what the space can hold with room to walk around it.
- A sofa or loveseat as the anchor of each grouping.
- Two or more armchairs facing it, so the arrangement reads as a conversation rather than a waiting room.
- A low coffee table or a pair of side tables for drinks, because guests will set glasses down somewhere.
- A rug to define the zone and soften sound, if the venue allows it and it will not create a tripping edge.
- Lighting, such as lamps, lanterns, or candles where the venue permits open flame.
Pay attention to seat height and firmness. Deep, very soft sofas look inviting in photos but are hard for many guests to get out of. Ask your rental company which pieces are easiest to sit in and stand up from.
Step 4: Match the Look to the Rest of the Room
The lounge should look like part of the reception, not a separate event. Pull colors and materials from your tables and florals. If the dinner tables use warm candlelight and natural wood, a lounge in bright white leather will feel out of place, and the contrast will show in every wide photo.
Share your florist's palette and a photo of your table design with the rental company. Many will suggest pieces that work together, and some can show you photos of the same items set up at your venue in the past.
Step 5: Plan Photos and Timing
A lounge can become one of the most photographed spots of the night if your photographer knows it exists. Mention it on your timeline call and ask whether they want a few minutes to photograph it empty before guests arrive, since detail shots are easier before drinks and jackets pile up.
Consider when the lounge opens. Some couples keep it roped off until after dinner so guests take their seats on time. Others open it during cocktail hour to give early arrivals a place to settle. Tell your coordinator which you prefer so they can direct guests.
Step 6: Confirm Logistics Before the Day
The final step is the least glamorous and the one most likely to cause trouble. Confirm these with your rental company and venue in writing.
- Delivery and pickup windows, and whether the venue has load-in restrictions or limited dock access.
- Who sets up the pieces and who moves them if the room flips between ceremony and reception.
- Damage terms, including what happens if a drink spills on upholstery.
- Weather plans for outdoor lounges, since fabric pieces may need a covered spot or a backup location.
- A final count of every piece, matched against the floor plan, so nothing arrives that the room cannot hold.
If you are still building your vendor list, browse rental companies, planners, and photographers on BayAreaWeddings.com and ask each one how they have handled lounge layouts at your venue. The best answers will come with photos from real setups and a clear view of where guests actually sat.
Browse Vendors