At 4:30 p.m. on a September wedding day, the ceremony may be twenty minutes away, the photographer may be ready for portraits, and guests may already be finding the bar. A workable Bay Area wedding day timeline makes those moments feel intentional by anchoring the celebration to a few fixed handoffs, then adding enough room for traffic, family photos, and the unexpected.
1. Set the anchors before filling in the details
Start with the moments that cannot drift: the ceremony start, the reception end, the venue access window, and any hard departure time. A private estate, winery, hotel, or urban venue may each impose different load-in and noise rules. Write those limits at the top of the timeline before assigning hair and makeup, portraits, or dinner. Also note the time guests can enter the property, when the wedding party must be dressed, and when the venue needs a final cleanup. These anchors prevent a pretty schedule from quietly ignoring the contract.
- Confirm the ceremony start and guest-arrival time with the officiant and venue. If the ceremony begins at 4:00 p.m., decide when doors open, when the processional line forms, and when the last vendor cue is called.
- Reserve the venue's full access window for setup, not just the time when guests arrive. Your caterer, florist, rental team, DJ, and photographer need separate arrival and staging instructions.
- Choose the reception exit or venue curfew before building the dance schedule. A late ceremony compresses dinner and dancing unless the timeline protects the transition.
2. Build backward from the ceremony
The ceremony is the cleanest center point because it sets the deadline for finished hair, makeup, attire, family grouping, and guest seating. Work backward from it rather than starting with a generic 8:00 a.m. wake-up call. A couple getting ready at a hotel near the venue needs a different plan from a couple sharing a bridal suite on site.
For a 4:00 p.m. ceremony, a reasonable first draft might place final getting-ready touches around 2:15, couple portraits around 2:45, and immediate-family photos around 3:15. Those are planning markers, not promises. Your photographer should adjust them for the number of people, travel distance, and desired light. If the ceremony and reception are in different places, insert a firm departure time rather than treating travel as a soft suggestion. Tell the wedding party where to wait once they are ready so the photographer is not searching room by room.
- Put the couple's final clothing, rings, vows, and personal details in one location before portraits begin. A missing boutonniere or misplaced vow book can cost more time than the portrait itself.
3. Protect travel and portrait buffers
Bay Area travel time is not only about mileage. Bridge crossings, event traffic, venue gates, narrow winery roads, parking shuttles, and elevator waits can all turn a short route into a missed cue. Ask the venue and transportation lead for a realistic door-to-door estimate, then add a buffer instead of promising that everyone will move perfectly.
Portraits also need a defined stopping point. Tell the photographer which groupings are essential, which are preferred, and who can gather family members. If golden-hour portraits matter, schedule them as a short return window during cocktail hour rather than leaving the entire reception timing vague.
- Name one person who can gather family members and one person who can answer vendor questions. The couple should not be the default contact for either job.
4. Turn vendor arrivals into a handoff plan
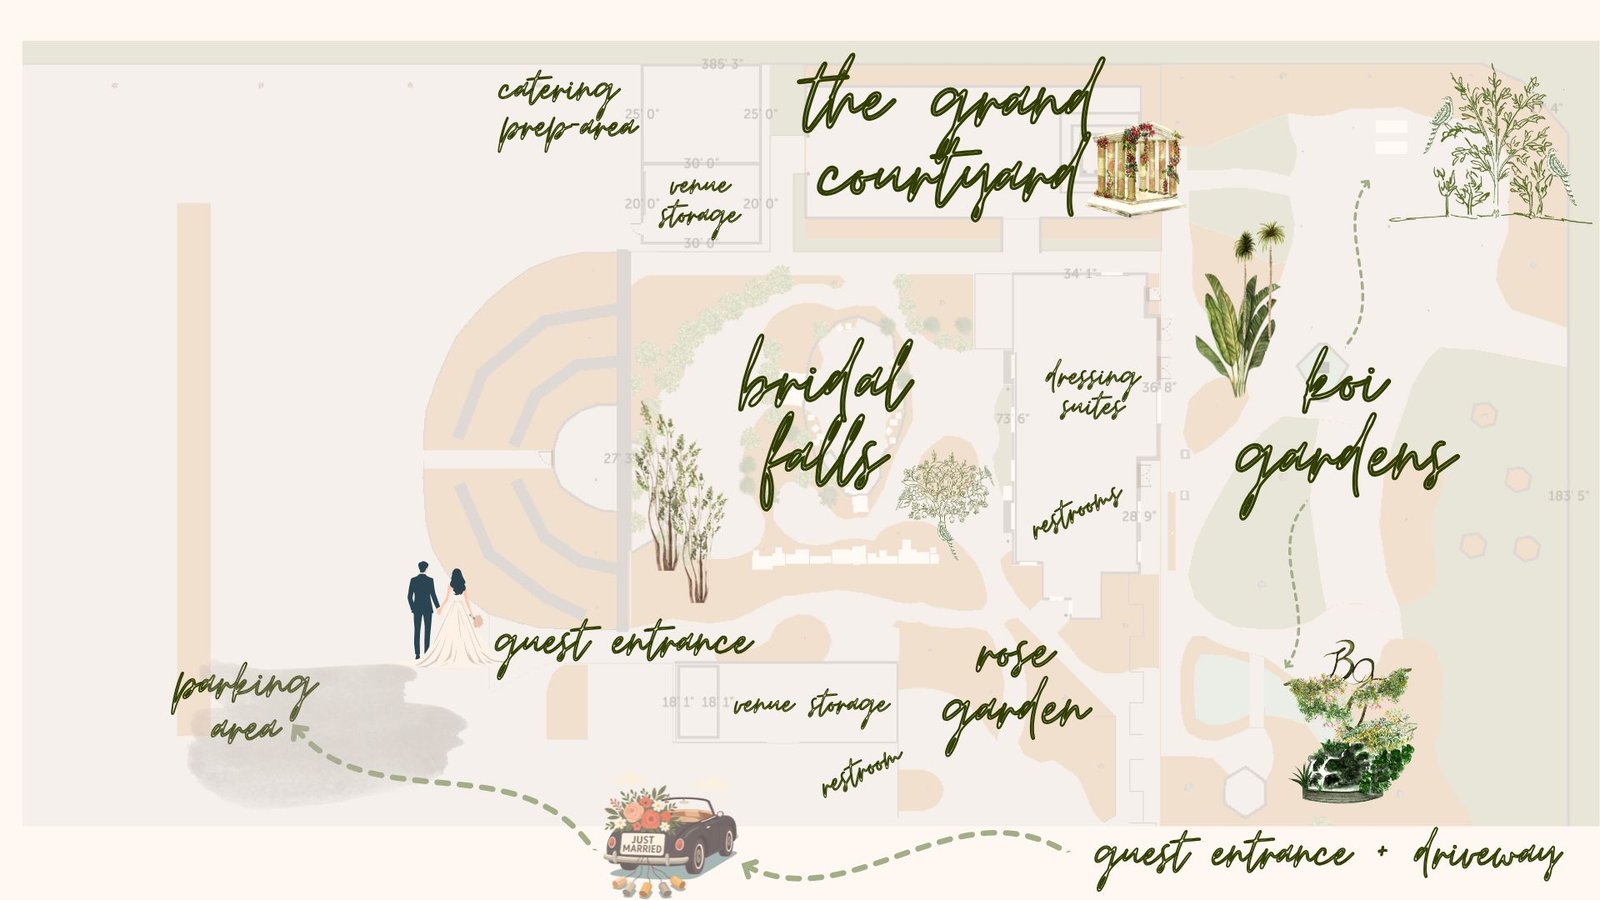
A timeline becomes useful when it tells each vendor where to be, what must be ready, and who owns the next handoff. List arrival time, unloading location, parking or access notes, setup deadline, and the person who signs off. This is especially important when the venue has one loading entrance shared by rentals, catering, florals, and entertainment.
Give the caterer a clear cue for guest seating and the DJ or band a clear cue for entrances, toasts, and dinner service. If the venue flips a ceremony space into dinner seating, assign a short transition window and identify whether guests move to cocktails or remain in place.
5. Share one version and add a decision checklist
Create one master timeline with a version date. Give the full vendor version to the planner or coordinator, a guest-facing version to the wedding party, and a short emergency version to the person handling calls. Remove private room numbers, payment notes, and sensitive personal details from copies that do not need them.
The final review should happen about a week before the wedding, then again after the rehearsal or venue walkthrough if anything changes. A good timeline is flexible in the right places: a portrait can shorten, a toast can move, and a shuttle can depart in waves. The ceremony start, venue rules, safety needs, and vendor access plan should remain protected. Send changes in writing, even when the update was discussed by phone. That small habit keeps the couple, coordinator, venue, and vendors working from the same assumption.
- Check that every major transition has an owner, a location, a cue, and a backup contact.
- Print or download the latest version, then tell the wedding party which version is authoritative.